반응형
Object 객체
Object객체는 자바스크립트의 최상위 객체입니다.
생성
자바스크립트의 가장 기본적인 내장 객체는 Object객체입니다. 정확히는 Object생성자 함수로 만든 인스턴스입니다.
Object객체 생성하기 예
var object = {};
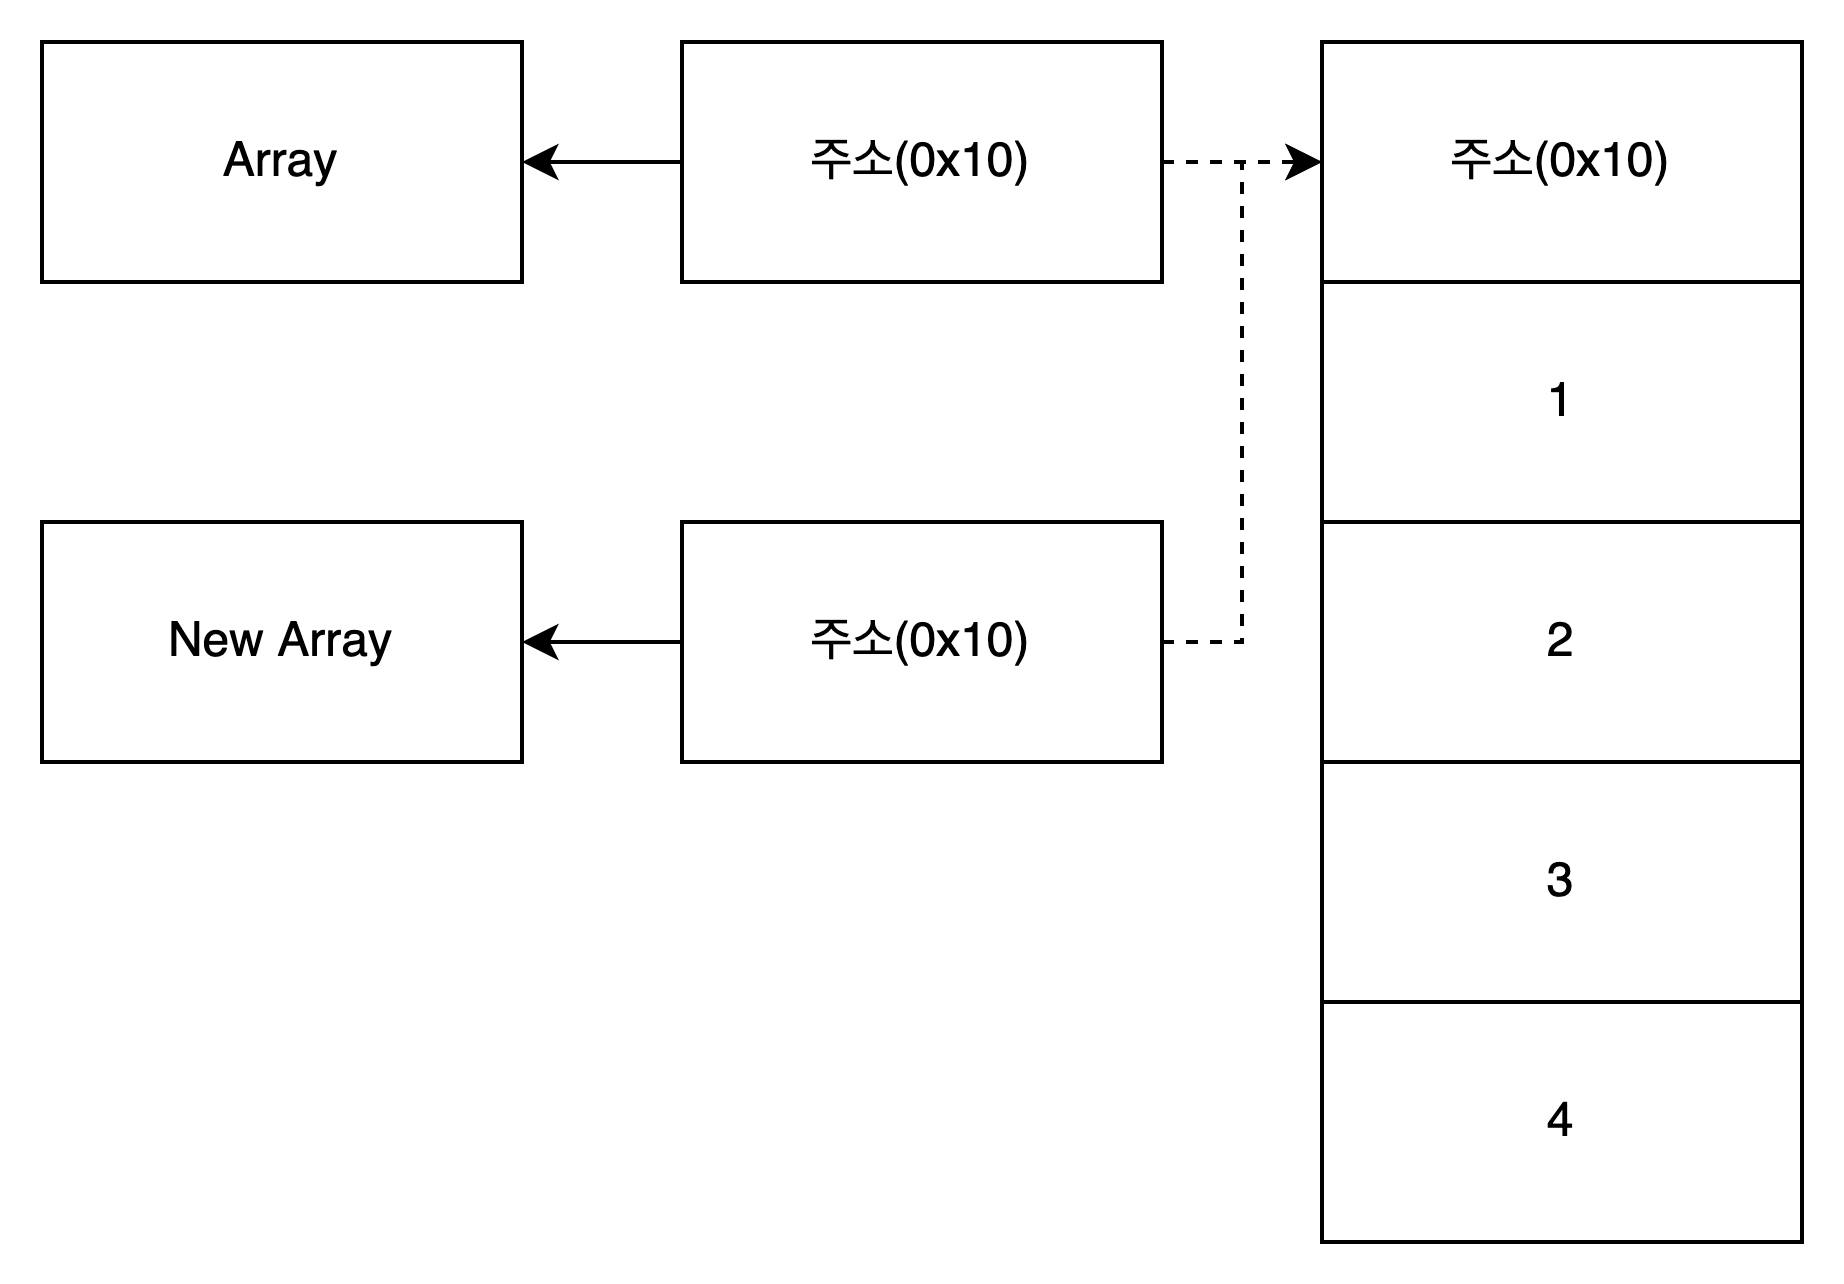
var object = new Object();Object객체는 위 두 가지 방법으로 생성할 수 있습니다.
Object객체는 아래 처럼 일곱 가지의 메서드가 있습니다.
| 메서드 | 설명 |
| constructor() | 객체의 생성자 함수를 나타냅니다. |
| hasOwnProperty(name) | 객체가 name속성이 있는지 확인합니다. |
| isPrototypeof(object) | 객체가 object의 프로토타입인지 검사합니다. |
| propertyIsEnumerable(name) | 반복문으로 열거할 수 있는지 확인합니다. |
| toLocaleString() | 객체를 호스트 환경에 맞는 언어의 문자열로 바꿉니다. |
| toString() | 객체를 문자열로 바꿉니다. |
| valueOf() | 객체의 값을 나타냅니다. |
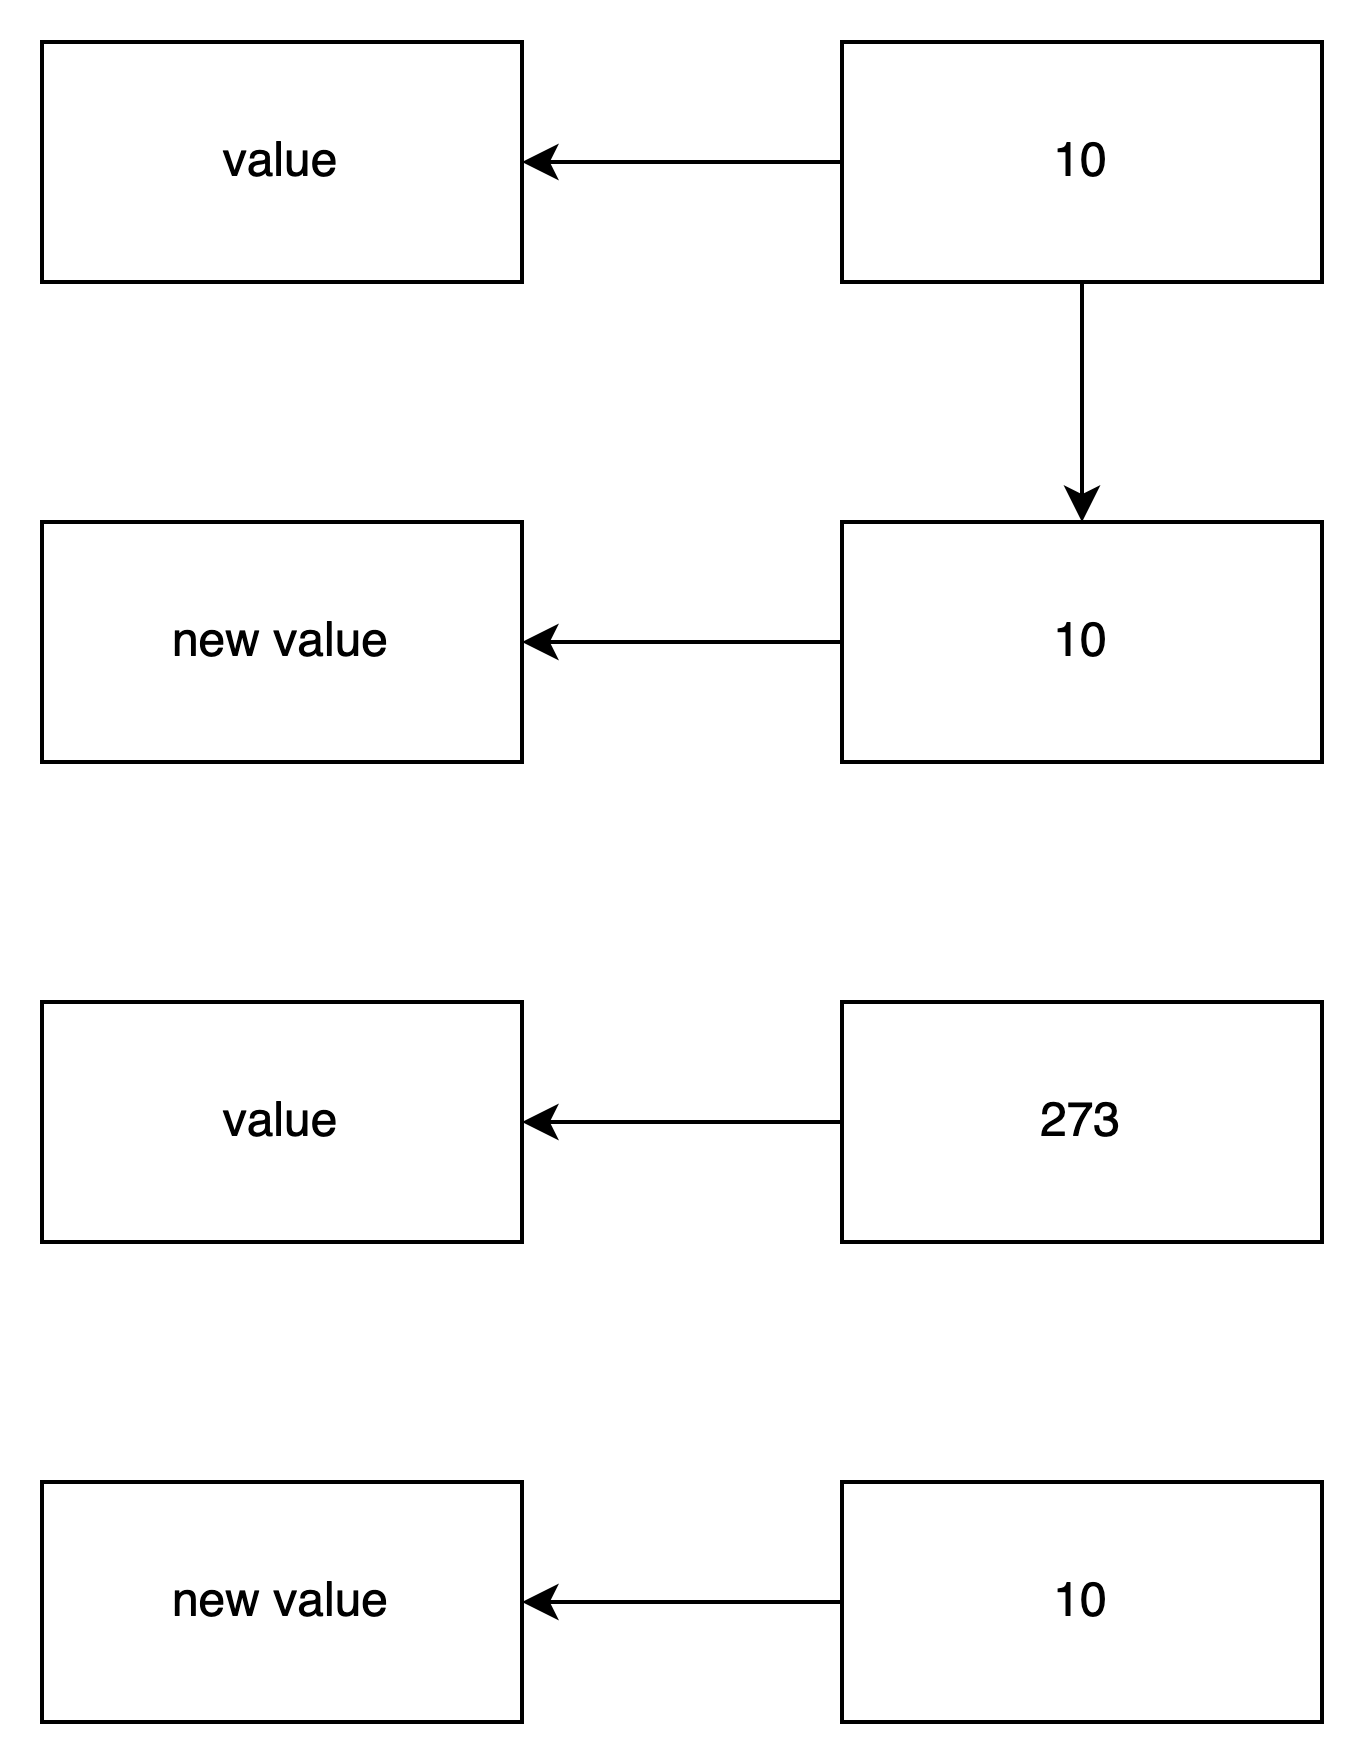
hasOwnProperty()메서드와 propertyIsEnumerable()메서드
var object = { property: 273 };

var output = '';
output += "HOP('property'): " + object.hasOwnProperty('property') + '\n';
output += "HOP('constructor'): " + object.hasOwnProperty('constructor') + '\n';
output += "PIE('property'): " + object.propertyIsEnumerable('property') + '\n';
output += "PIE('constructor'): " + object.propertyIsEnumerable('constructor') + '\n';

console.log(output);
/*
HOP('property'): true
HOP('constructor'): false
PIE('property'): true
PIE('constructor'): false
*/

for(var key in object) {
    console.log(key) // property
    console.log(object[key]); // 273
}
위 코드를 실행하면 property속성을 검싸한 것은 모두 true를 출력하고 constructor속성을 검사한 것은 모두 false를 출력합니다.
propertyIsEnumerable()메서드를 true로 가지는 속성만 for in반복문으로 출력합니다.
toString() 메서드
var object = new Object();

alert(object); // [object object]
alert(object.toString()); // [object object]
toString()메서드는 객체를 문자열로 변환하는 메서드입니다.
위 코드를 실행하면 두 출력 결과가 같습니다. toString()메서드는 객체를 문자열로 변환할 때 자동으로 호출되기 때문입니다.
toString() 메서드 재선언
var student = {
    name: 'shiro',
    grade: '대학교 4학년',
    toString: function() {
        return this.name + ' : ' + this.grade;
    }
};

alert(student); // shiro : 대학교 4학년
위 코드는 객체를 만들고 내부에서 toString()메서드를 선언합니다.
원래 모든 객체는 toString()메서드를 갖는데 다시 선언했기 때문에 재선언한 것입니다. 자바스크립트는 객체를 문자열로 변환할 때 자동으로 toString()메서드를 호출한다고 했으므로 shiro : 대학교 4학년을 호출하게 되는 것입니다.
반응형
'JavaScript | TypeScript > Javascript 시작하기' 카테고리의 다른 글
| [ Javascript ] Number 객체 (0) | 2022.06.17 |
|---|---|
| [ Javascript ] 자료형 구분, 모든 객체에 메서드 추가 (2) | 2022.06.16 |
| [ Javascript ] 기본 내장 객체 (0) | 2022.06.15 |
| [ Javascript ] 클래스 (0) | 2022.06.15 |
| [ Javascript ] 상속 (0) | 2022.06.14 |